Acclimation Made Easy: Aquarium Livestock Acclimation Tips

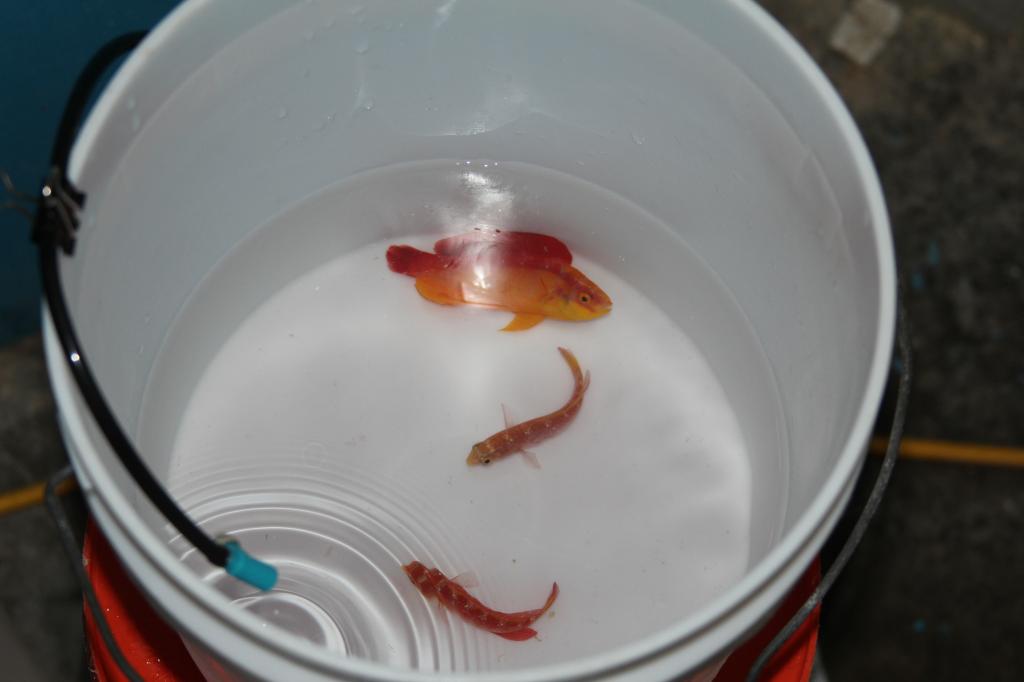
image via reef2reef member WTFragit
Acclimation Reasoning:
Have you ever woke up from your warm, fuzzy blankets only to be frost bit by the cold air outside of your place of slumber? Have you ever taken a hot shower and opened the door to a gust of cold air? Luckily all humans do is complain, shiver, and then slowly get used to the change in temperature. With fish, corals, crabs, octopi, and anything else we normally see in aquariums, we have to be much more careful when adding a new creature to a new environment. Don’t put your animals through the cold breeze after a shower feeling, acclimate them to it!
Physical:
The obvious reason for acclimation is like the analogies above. What physical difference does the water have to the water they came from? Is there a large temperature difference? Any difference at all is noticeable to delicate life forms. Aside from temperature, there is not much physical difference in the water, at least not that we can sense with a quick dip of the finger. This is where the more touchy parameters come to play.
Chemical:
Salinity – All ocean creatures require salt, or at least have gotten used to it so much that they will die without it. The salinity levels in your tank, Bob’s tank, and the water at the LFS are most likely a little bit different, maybe even a lot. Say Bob sold you an angelfish from his tank that has a higher salinity. If you keep yours relatively lower then the stress of the salinity change can in fact stress out a fish or coral if quickly acclimated.
pH:
This is the magic parameter that tricks fish’s bodies into being stress free. A pH of 8.3 is what makes xenia pulse the fastest, so thats what I personally recommend but yours may be a little lower or higher. Stable pH is actually quite important. In fact, shocking pest anemones with very low or very high pH containing liquids is a great way to eradicate them. Unfortunately, a pH shock can happen without your consent if you are unaware the pH your new critter lived in is different than what your tank is.
There are many other parameters, but for acclimating purposes these are the most important to monitor. Temperature, salinity, and pH, when out of whack, can wreak havoc on your life forms. So how do we get a critter from one body of water to another without making it scream for help?

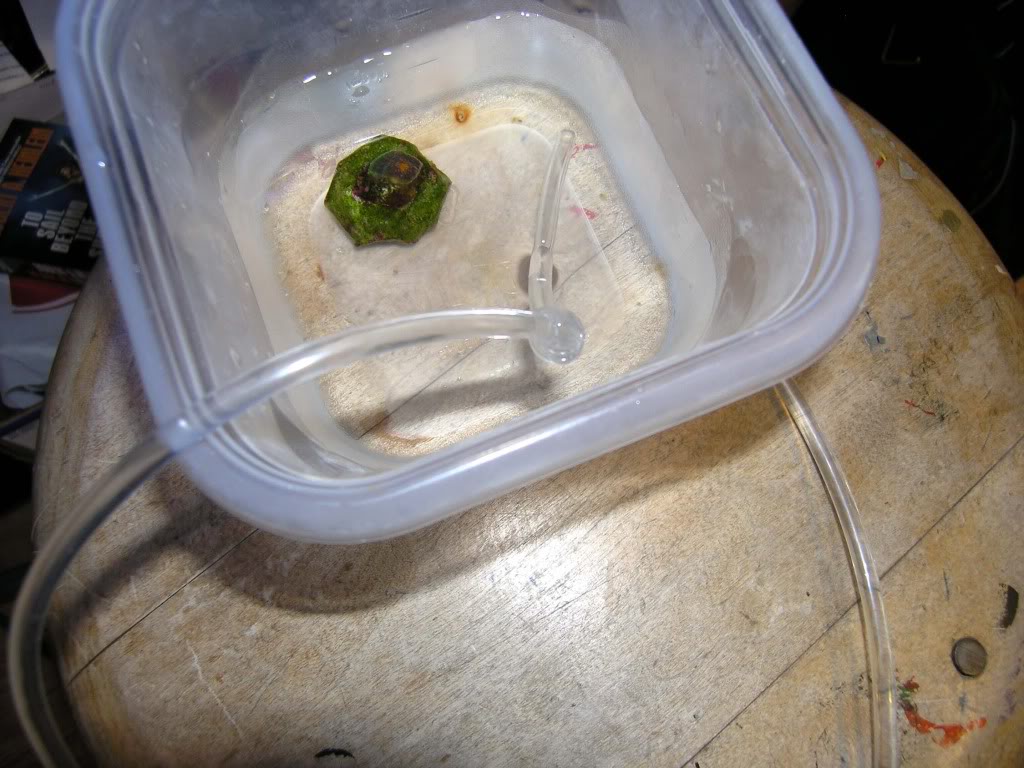
coral frag being drip acclimated image via reef2reef member drainbamage
FIRST AID
No matter how healthy a specimen looks it will require quarantine before ever touching your aquarium unless it came from a system that has already been through complete quarantine. The odds of a pet store selling a perfectly healthy creature is slim, since quarantining whole inventory can cost more than they can afford. Hobbyists are much more likely to have animals that are already quarantined, though I never take chances. With that said you should ALWAYS quarantine. If not for disease or parasite treatment, at least do it so you can be sure your fish or coral is happy enough to eat.
THE “NOT SO EFFECTIVE” METHOD: FLOATING
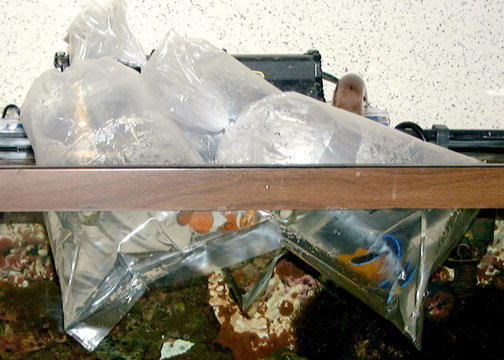
Floating a bag in your tank does two things, and two things alone. First it helps equal the temperature of your new bagged creature to that of your aquarium. Next it allows the current fish to witness their new roommate. This, however, leaves out the Chemical side of acclimating. I have witnessed many pet stores, and pet owners alike, do nothing more than float and dump. This can make a delicate fish like a tang or angelfish have a nervous breakdown, stress out, and even stiffen up and die immediately, granted the pH and salinity are way off. If anything, the float acclimation should only be used as step 1.

image via blog.petsolutions.com
EFFECTIVE ACCLIMATION
Materials Needed:
-Long Airline with a valve
-Clear, large container (4-8x bag volume)
-Timer
To account for both temperature and chemistry, one must actually alter the chemistry in the bag water before dumping out its contents. Here is my procedure that has had a 100% success rate.
1) Rinse the bag in RO
2) Float the bag for about 20 minutes, less if it is small.
3) Open the bag outside of the tank, never spilling a drop of water from it.
4) Pour the contents into a clear container, like a large jar and set it below the waterline in your tank
5) Put one end of the airline in the tank and start the siphon and point it into your sump
6) when the siphon is started you can adjust the valve to a slow drip
7) Point the slowly dripping hose into your container and set the timer to 1 hour.
8) After one hour, dump the water into a waste bucket, leaving enough water to keep the animal wet.
9) Reset the timer and repeat 2 more times.
10) After the last dumping, you can now remove the animal from the container, leaving water behind. The fish, coral, crab, or whatever you are acclimating should have no physical problem with being transferred straight from the container to the tank.
11) Observe the animal, making sure they don’t show signs of stress or getting picked on/at
PRECAUTIONARY TIPS
When dripping over the course of an hour, or even less, the flow rate may sometimes change due to various circumstances, periodically check the acclimation container for flooding. If you are too busy you can place the container in a bucket to catch any flooding, but make sure you have some premixed saltwater ready to replace that that leaves your tank during the process.
NEVER, and I mean NEVER pour water from the bag into your aquarium. The average LFS water is either medicated or contaminated with stuff you do not even want to know about. Trust me. Always pour the water into a waste bucket and dispose of it miles away from your aquarium, or at least in the bathroom.
Clear containers work best. You will need to monitor the animals periodically as their water is being chemically altered. In a way this process is like a blood transfusion. You are replacing 100% of their life supporting liquid with new. Having a visual of the effects is much better than waiting until you are finished and coming to find you have a dead fish after the fact.
Take your time. When you spend the big bucks on a fish you want it to last as long as fishily possible. 3 hours is not unreasonable in the scheme of your aquariums lifespan and with a good setup can be fairly hands off. Some fish are much more prone to sensitivity caused by parametric shock but others can survive without even acclimating, though it is not recommended since the fish will still have some form of avoidable stress.
Separate Test Kits! If you are new to the hobby, testing the different water will help a ton in determining how close you are to being finished. A mistake many people make is using the same test kits for both sources of water. The hidden problem is that you may contaminate your display or quarantine tank with water from your fish bag by double dipping.
DIY AUTOMATED ACCLIMATION FOR CHEAP
Did somebody say Automated?! If you have extra space for a 5 gallon bucket or two you may not even need to get your hands wet. With gravity on your side you can easily make an automated acclimation container that does not require electricity.
Materials:
Bucket or Tote (for catching any flood water)
Smaller container that will fit in the Flood Container
Float Valve, small enough to fit in Smaller container
1/4 inch waterline
Ball Valve
Assembly Instruction:
-Place the Flood Container somewhere below the level of your display tank
-Place the Smaller container in the Flood Container
-Install the float valve so that it will fill the small container most of the way full
-Attach the waterline to the float valve with the manual valve inline so you can manipulate flow rates.
-Route the end of the water line to the display tank so that you can point it in front of a power head or return pipe.
Operation:
To start the flow, open the Ball valve and point the waterline in front of a strong powerhead or return pipe in the display. This will cause water to siphon through the hose. When the water starts to trickle into the container you can turn the valve to the Off position and pour the water into the flood container.
With the siphon started and the valve off, along with the empty container, you are now ready to pour your bag into the container with the animal. open the valve just enough to start a slow drip and when the water reaches the float valve it will cut the flow. If you mark the position it makes it easier for the next time you want to acclimate.
When the container is full, turn off the valve and simply dump the water into the flood container, leaving enough to keep the animal submersed. Turn the valve back to the slow drip position and repeat the procedure as many times as you feel you need to. 2-3 times is plenty.
Acclimating can be a breeze, and everyone has their own procedures that work as well. If you are sure on your ways of acclimating share them at www.reef2reef.com and see what everyone else thinks. Maybe you have the ultimate method!
To stay up to date on the latest saltwater reef aquarium topics and news sign up for a FREE account here!
Comments are closed.
