HOW2BUILD: SUMPZILLA
HOW2BUILD: SUMPZILLA (Part 1: The Build)

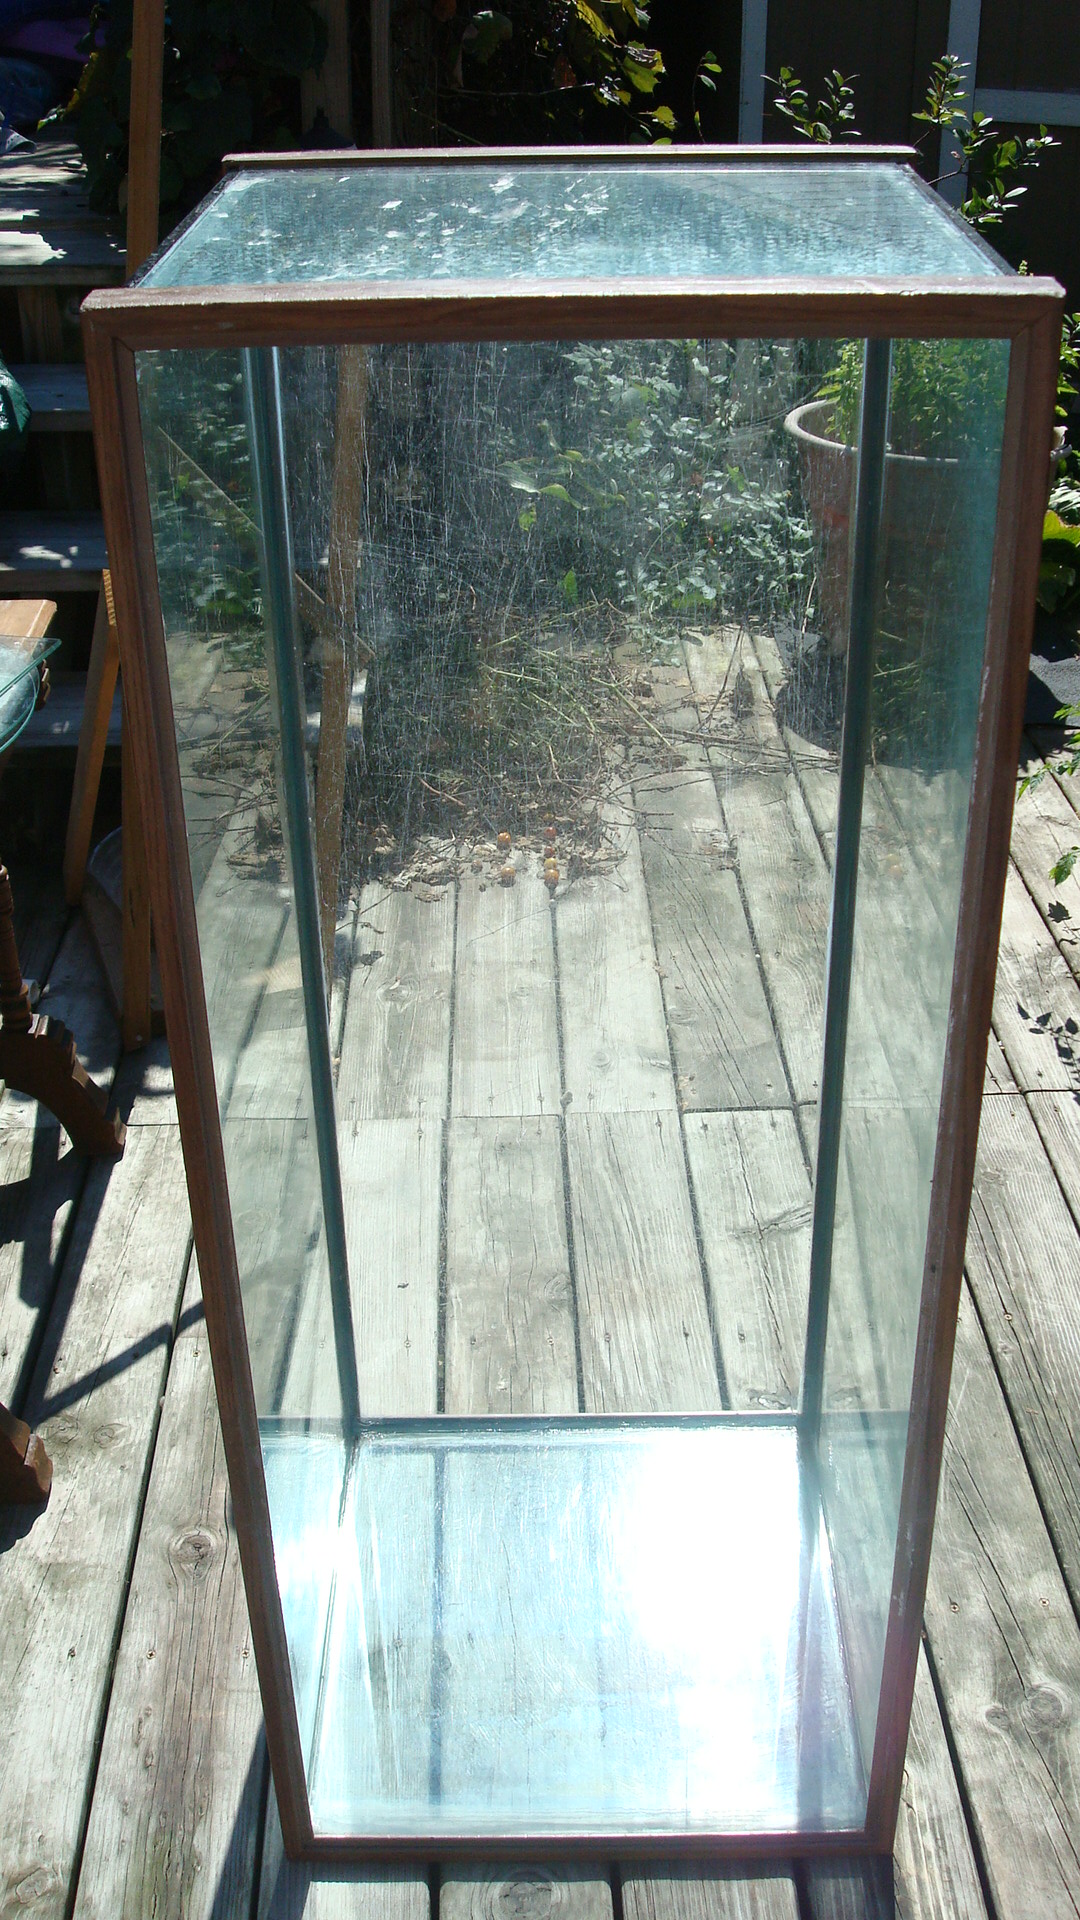
This is a general guide on how to turn an aquarium into the ultimate reef filtration. I am going to explain the planning stage, the materials, and the assembly. The tank I am using is a 75 gallon aquarium that has no cross brace, which is fairly uncommon around here. Luckily, this was traded to me a while back and I had to take advantage of its open top. This sump is being designed for a specific client, so the planning was a two person process to fit the needs. The size of the sump is not as important as the function and design. You can make the same exact sump layout with something as small a modified box of Tic-Tacs or as large as a school bus. The 75 Gallon is normally too big for most systems, especially if the tank is established.
PLANNING:
The initial idea spawned when my client was having issues with his small acrylic sump. The sump was designed as a wet/dry and has a spot for an external pump which we opted to plug. The unit works fine as is, but as the tank matures, there is a much stronger need for stability, added filtration, and extra real-estate for frags to grow. The stand contained a 10g tank for the ATO. The sump contains a large protein skimmer, heater, media sacks, and a UV sterilizer. The new sump will have to be able to house all of this stuff, and since it will take up the majority of the stand we will have no room for an ATO outside the sump.
The first step is to write down all the things you want your sump to contain, starting with the drain.
-
Drain
-
Heater
-
Media Sacks
-
Protein Skimmer
-
UV Sterilizer
-
Frag Growout
-
Refugium
-
Return
- ATO Reservoir
So how do we fit all of this stuff into a tank and still have room to work around it? Grouping! To reduce the number of chambers and take advantage of the 75 Gallons we will be grouping like terms, just like algebra! To make it simple I decided to categorize the 9 things into sections that now look like this:
- Drain: I like having a section dedicated only to the drain to allow for optional filter sock
- Tech: Combining the Skimmer, UV, Heater, and Media sacks makes for easy access
- Livestock: Frags can grow in a Refugium just fine, as long as the Chaeto is kept at bay
- Return: The pump has to go somewhere!
- ATO: This has to be its own section. RO water cannot get salty or it will go bad.
Now that we have a reduced list of sections we can start to draw up some plans of attack. Bubble Traps are very important, but can be put in places that serve minimal purpose. There are a couple places that a bubble trap will benefit you. Before the return pump is a good spot. It keeps air from making it to your display tank. Putting one after your protein skimmer is another must-have spot. The skimmers that work the best still can make MAD air bubbles. We have 5 sections to baffle and 2 bubble traps to place, one before each section with a pump. The skimmer is not designed to work as smoothly with random bubbles making their way to the pump and we do not want micro bubbles in the display. The plan is fairly simple. Three baffles touch bottom, three baffles float, And there will be a shelf that sets 7 inches below the water level for the protein skimmer made from egg crate and will be full adjustable for future upgrades or mods.
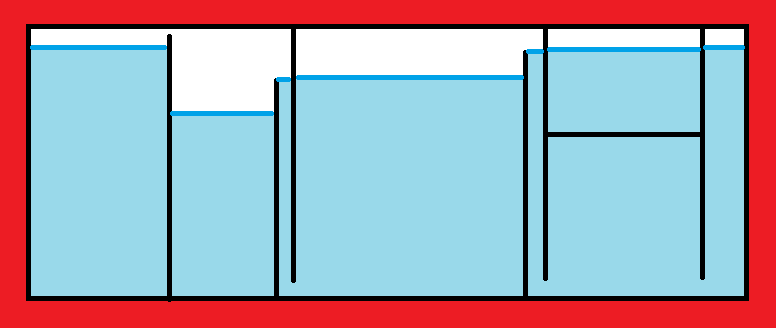
This is the layout I am going with for this particular build. It is very simple and won’t take very long to do. The baffles are all 18.25 inches wide and each is slightly shorter than the next to create that “stair step” look. The skimmer is going in the deepest section, but we have a 60 inch tall stand, so that will allow for a special shelf for the skimmer to rest on at the proper operating depth. This will also allow for a large area of space for the UV, heater, and media. Here is the List of Dimensions and Tank volumes down to the bubble trap in inches (LxWxH) and gallons down to the hundredth:
- Drain Section: 3×18.25×18 @ 4.03 gallons
- Mechanical Filtration Section: 10×18.25×17 @ 13.43 gallons
- Bubble Trap 1: 1×18.25×16 @ 1.26 gallons
- Refugium/Grow out Section: 15×18.25×16 @ 16.59 gallons
- Bubble Trap 2: 1×18.25×14 @ 1.11 gallons
- Return Section: 6×18.25×14 @ 6.64 gallons
- ATO Reservoir: 12×18.25×17 @ 16.12 gallons
These measurements of volume are the estimated running capacity. Sumpzilla will have 16 gallons of flood capacity to prevent a wet carpet. This tank must please the ladies!
PARTS LIST:
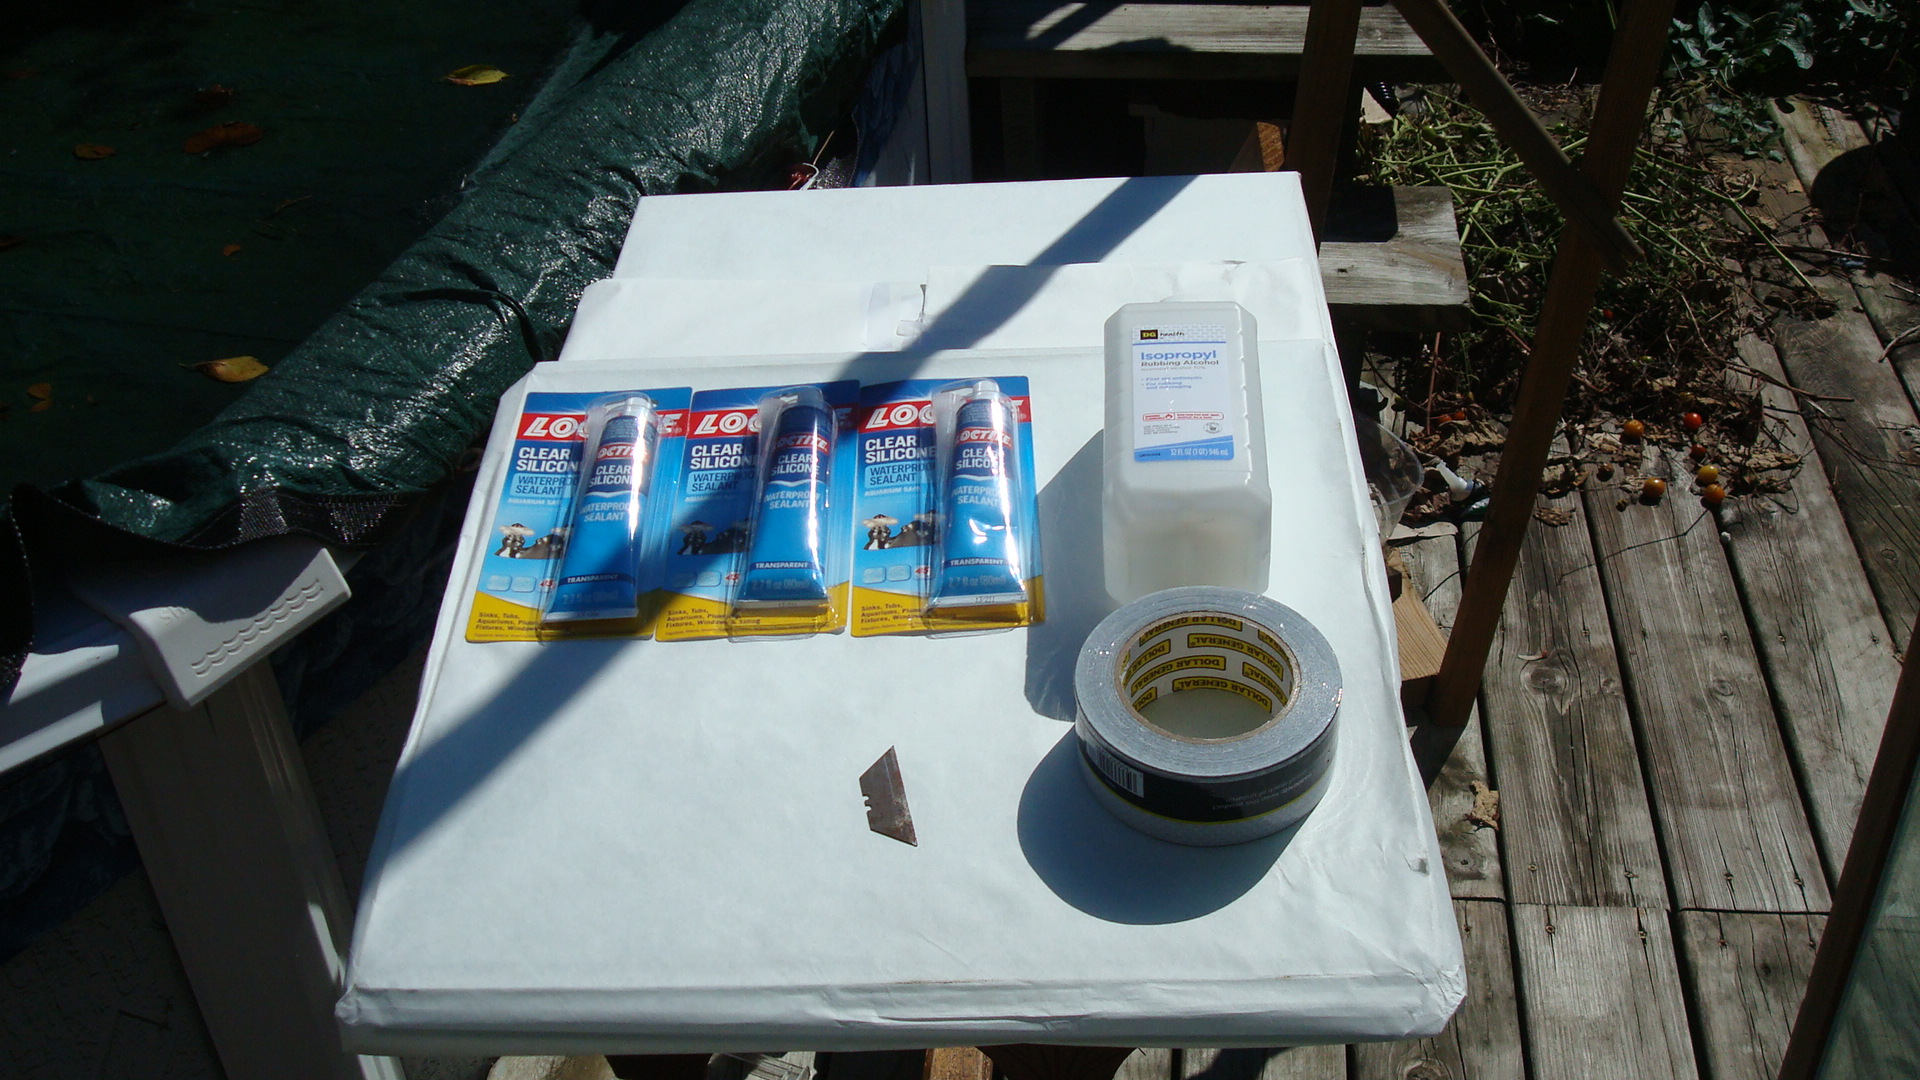
- ¼ inch Glass Baffles- All baffles are 18.25in Wide: (3)17in,(2)16in,(1)14in,(1)6in
- 4 Tubes Aquarium Silicone
- Duct Tape
- Rubbing Alcohol
- Rags
- small bowl or container
- Razor Blade
PREPPING:
Clean out the tank as best you can. Use lemon juice to get any Calcium deposits off the glass and give it a nice new (though probably scratched) look. Be careful when using lemon juice because it can and will attract bees like an open can of pop in July. Imagine being crammed inside a 75 gallon tank with more species of bees than you care to know. That was not an easy task and I was frequently running back and forth between the lemony tank and the garden hose to try to clear out the swarms…and they say we are running out of bees? Once the tank was cleared up I hosed it down and gave it a nice once over with rubbing alcohol to help evaporate the water and wipe off any oils that may be on the panels. If your tank needs resealed at this time you should do so before you have anything in it. Check out the DIY forum if you are new to resealing aquariums. You will need to transfer the design onto the tank. A marker works great and is easily cleaned off. Draw the lines for the baffles on both sides of the tank and even the bottom to ensure square placement of the panes. Be prepared to have slight angles in the baffles if you have a lazy glass man like me. This is not going to effect the function so much, but it will effect the perfectionist who cannot stand when stuff is “off.” When dealing with angles you will need to make sure your equipment still has room to operate. Too much adjusting could lead to a tiny return section that does not fit your pump! Having it or something that is the same size for reference is a great way to prevent issues later on.
WHERE TO BEGIN:
The hardest part about building one of these is the beginning. What baffle do you start with? For my situation I opted to start on the ATO side of things and get that leak test out of the way. If any leaks out then that means salt can leak in and contaminate the reservoir. That is not good! We also do not want 16 gallons of RO water diluting the salinity. With leak tests in mind I will be moving on to the next bottom touching baffle, as these are the ones that keep the levels full in each chamber. If you have the equipment on hand you can use it as a size reference and adjust your baffles accordingly but I will be going for a generally versatile sump to help the resale value of his tank if he ever decides to upgrade in the future. After all the bottom pieces are leak free I will be adding the “floating” bubble traps. They won’t leak but if they did it would not be a big deal. I am very peculiar about leaky bubble traps. These will be air tight. Once the whole thing is done I will do the flow test and blast water through it as fast as I can get it to with a very powerful submersible pond pump. This is to make sure in a flood or emergency, or even with a stronger pump that the tank will not come apart and the baffles will stay in tact.
HOW TO SECURE AND GLUE:
The baffles will most likely be VERY SNUG or VERY LOOSE…the local glass shop has informed me that they are not worried about being precise since windows have room for play. Hopefully you will have access to a more precise glass man. The baffles were mostly pretty tight but one was a little small. I chose to use the loose one as a floating baffle since there will be less actual pressure on it than one acting as a tank wall.
The first step is to rub down the glass that will be glued with rubbing alcohol to get any oils off that may effect the seal. Let that evaporate. Once it dries do not touch the spots with your fingers. Organize your baffles in order according to your layout for no confusion. It can be really easy to mix a 16 inch piece with a 17 inch piece. Label them with a marker if you have to.
HOLDING BAFFLES IN PLACE:
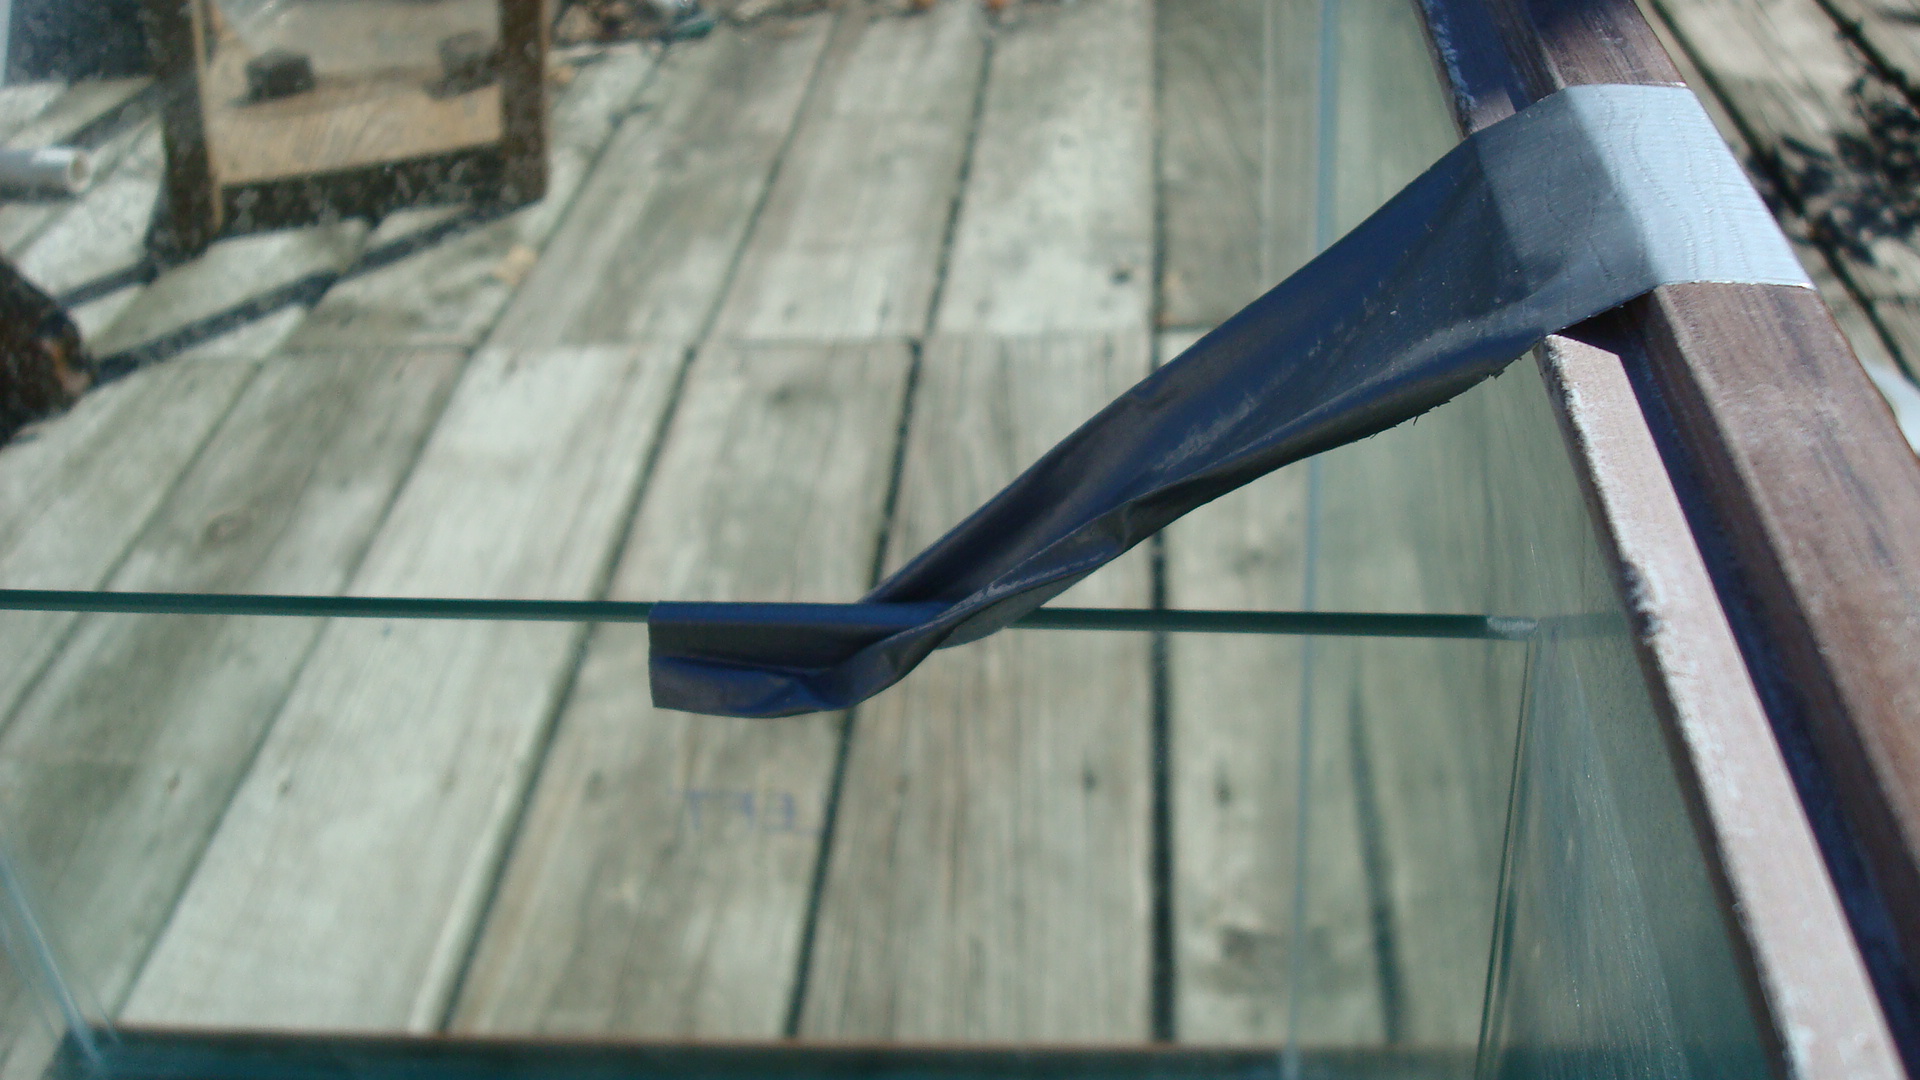
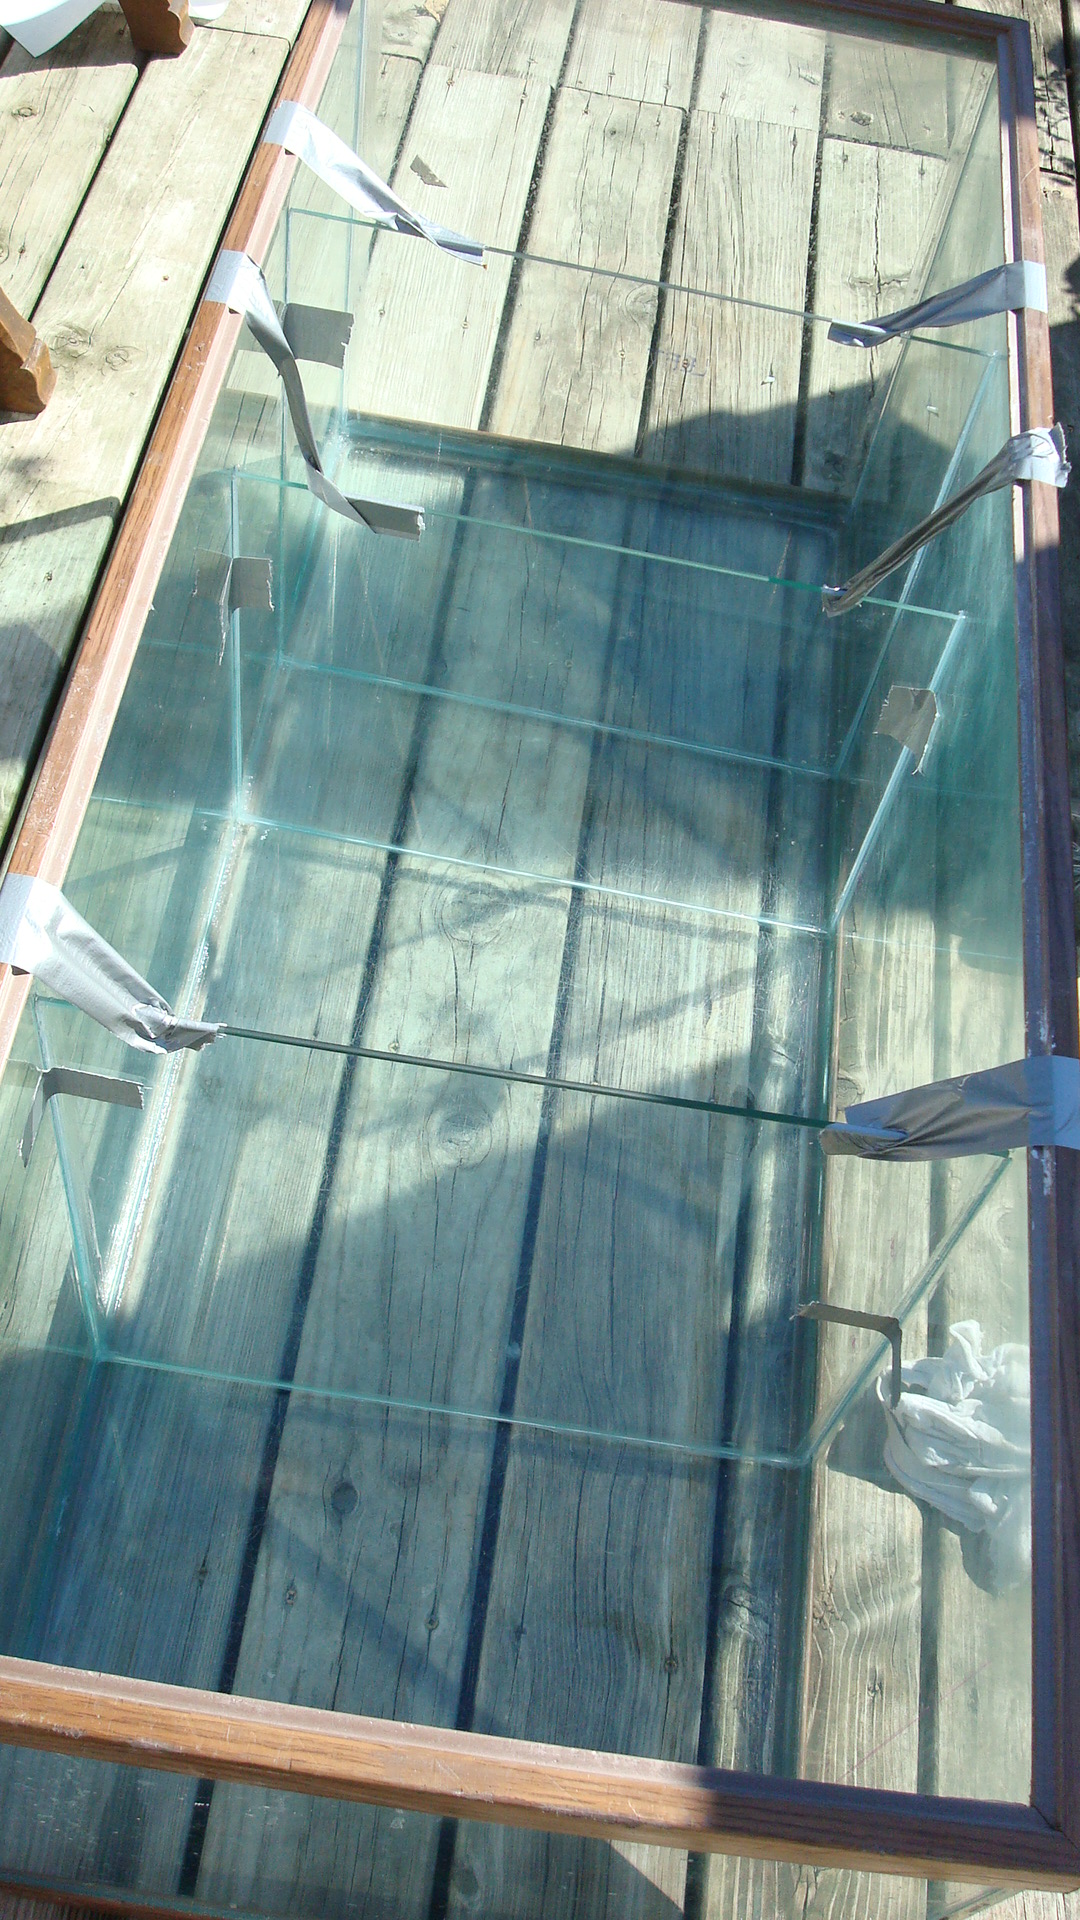
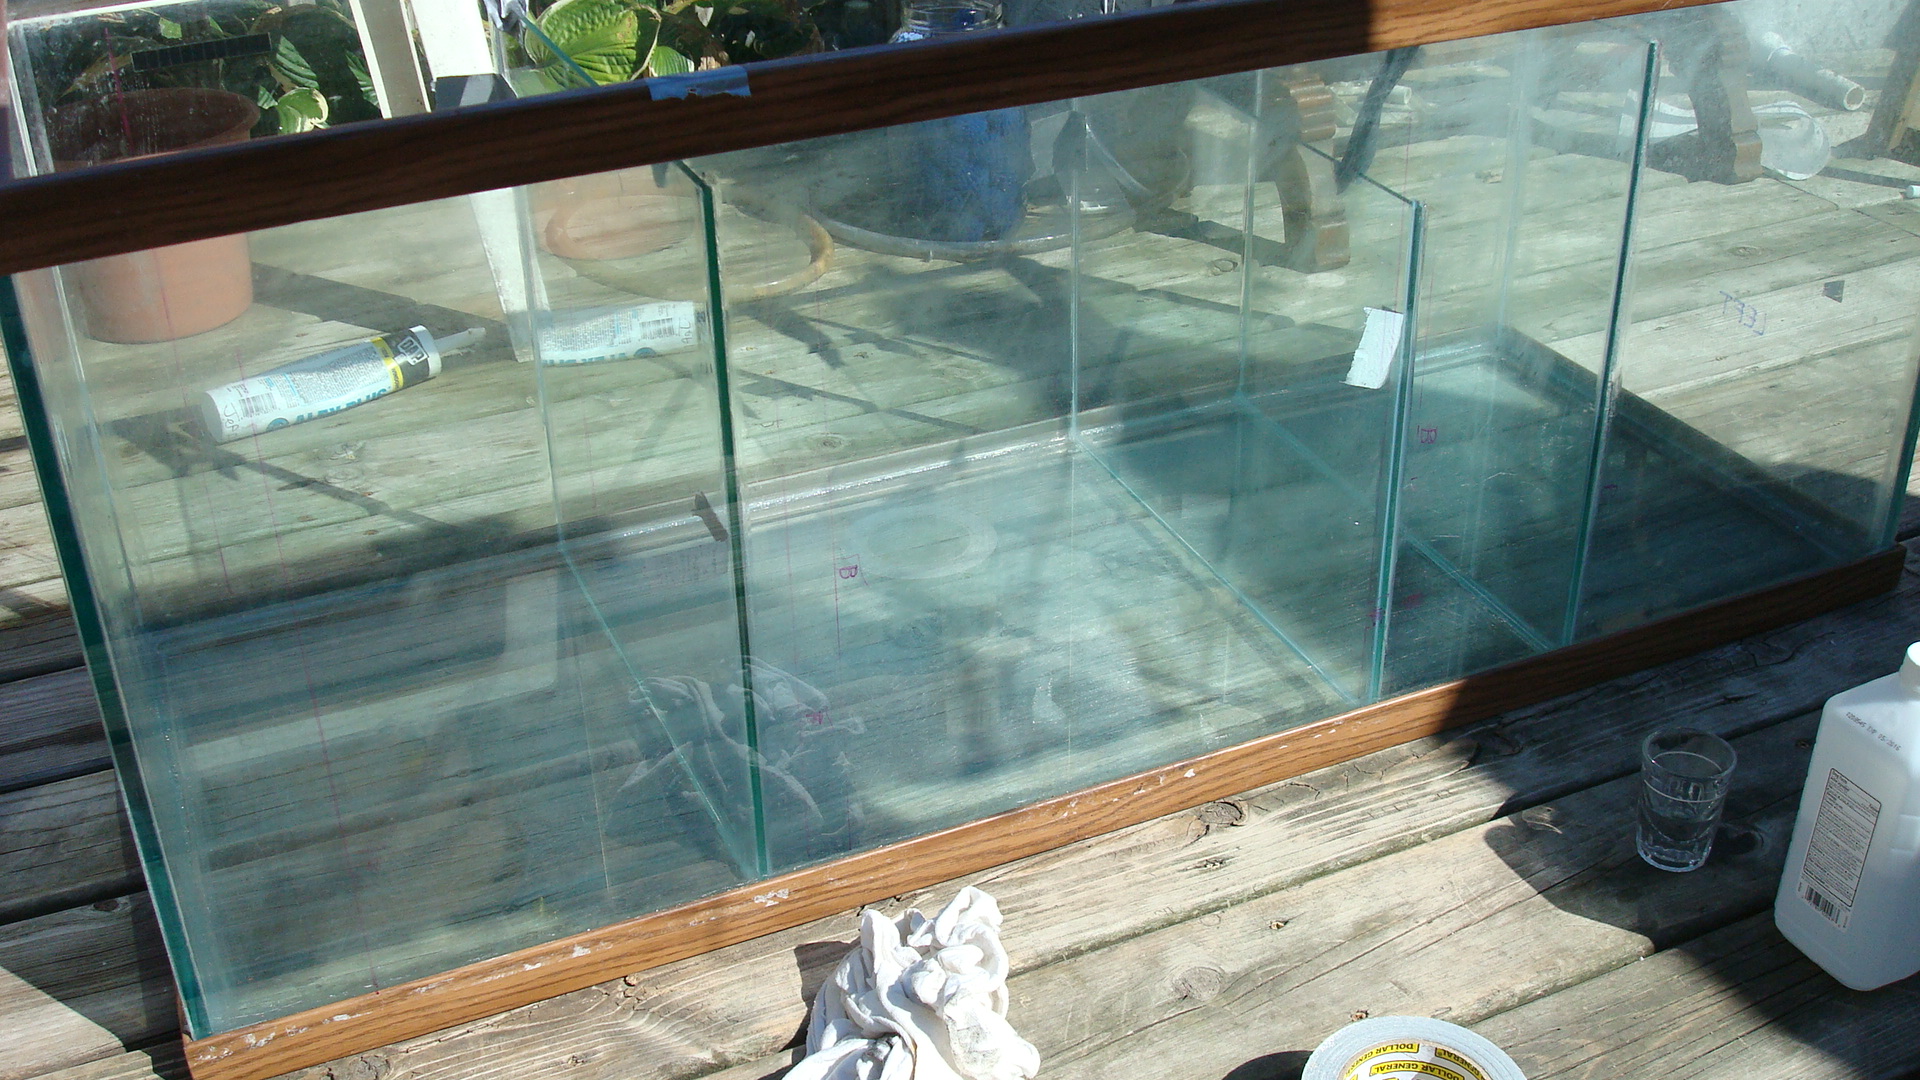
The trick is to have tricks! There are so many ways to keep a baffle in place while gluing that you should be able to make any layout with no problem. Since I am using ¼ inch glass I will need something strong that can easily be removed. My preference is Duct Tape. You can also use foam, cardboard, or anything else that can hold the walls in place while you glue them. The important part is that they won’t move and can easily be cleaned up when you are finished.
Loose Baffles: If the baffle is not a snug fit you will need to pay extra attention to the way you secure it. I like to take advantage of gravity and Duct Tape. By adhering a strip on both top corners of the pane and attaching the ends to the aquarium’s frame you can literally hang the baffles in the tank. With the baffle in place you can then silicone them in place. To prevent the baffles from moving you can squirt a dab of slicone to the sides to be glued and leave it alone for a couple hours. By then the silicone will have set enough to allow for a much easier sealing. You can get creative with placing braces as well to keep it secure. I have always just taped and sealed in one motion but it takes a very strong thumb to squeeze the tube all the way up each gap. Sometimes you will need to do multiple layers if the gap is serious (though the glass man should replace a mistake if it is that far off).
Snug Baffles: When the Baffle fits perfectly it is so much easier. The glass basically holds itself in place. Do not force it if it is too large. Either try to swap it with a more accurate piece or deal with a slight angle in your baffle. Place the baffle with a small bead of silicone on the edges where you would like it, press it into place, and seal it up! You can tape these as well just to be safe but after a couple hours even the floating ones are usually very secure.
There is not much to sealing the baffles. As long as there are no gaps in the sealant they do not have to be pretty. This is a sump! Don’t get bent out of shape over the little things. Function over form, function over form. The easiest way is to cut the tip fairly large so you can push a generous amount out in one run. Run the tube all the way across the place to be sealed. Dip your finger in a cup of rubbing alcohol and start from one end of the silicone bead and slide your finger across the entire length. Floating baffles will have two lines to seal in two motions. Bottom touching baffles will have 3 lines but can be smoothed in one U shaped motion. You can now add a piece of tape to the corners as well to keep the baffles from sliding out of place while you are not watching it.
LET IT DRY:
Forty-eight hours is the standard cure time for most silicone used for aquariums. Some may take less time, others may take more. Be sure to read the label on your silicone to be sure. During this time you should probably cover the sump with a board or something. Animals could get inside of it, birds could transplant seeds onto it, or if you live somewhere with less predictable weather it could fill with snow before the silicon dries!!! This time is crucial for the stuff to keep a strong bond. If you have a ventilated indoor place for it that will be even better, just keep the cats out of it.
MIC CHECK ONE, TWO:
After a couple days you can fill it up and see if the chambers leak. I fill one up. Let it set for an hour or so, drain, then move on to the next section until I know all the chambers support their own volume. After I am sure the chambers will not leak into each other I move on to the flow test.
The Flow test requires a stronger pump than you will be using on the sump or you can use a regular size pump and have tons of buckets of water on hand to dump in the tank at once. This not only checks the baffles for strength but it makes sure they are not spaced in a restricting way. If the sump is not flooding then it is a sump worthy of installation.
FINAL TOUCHES:
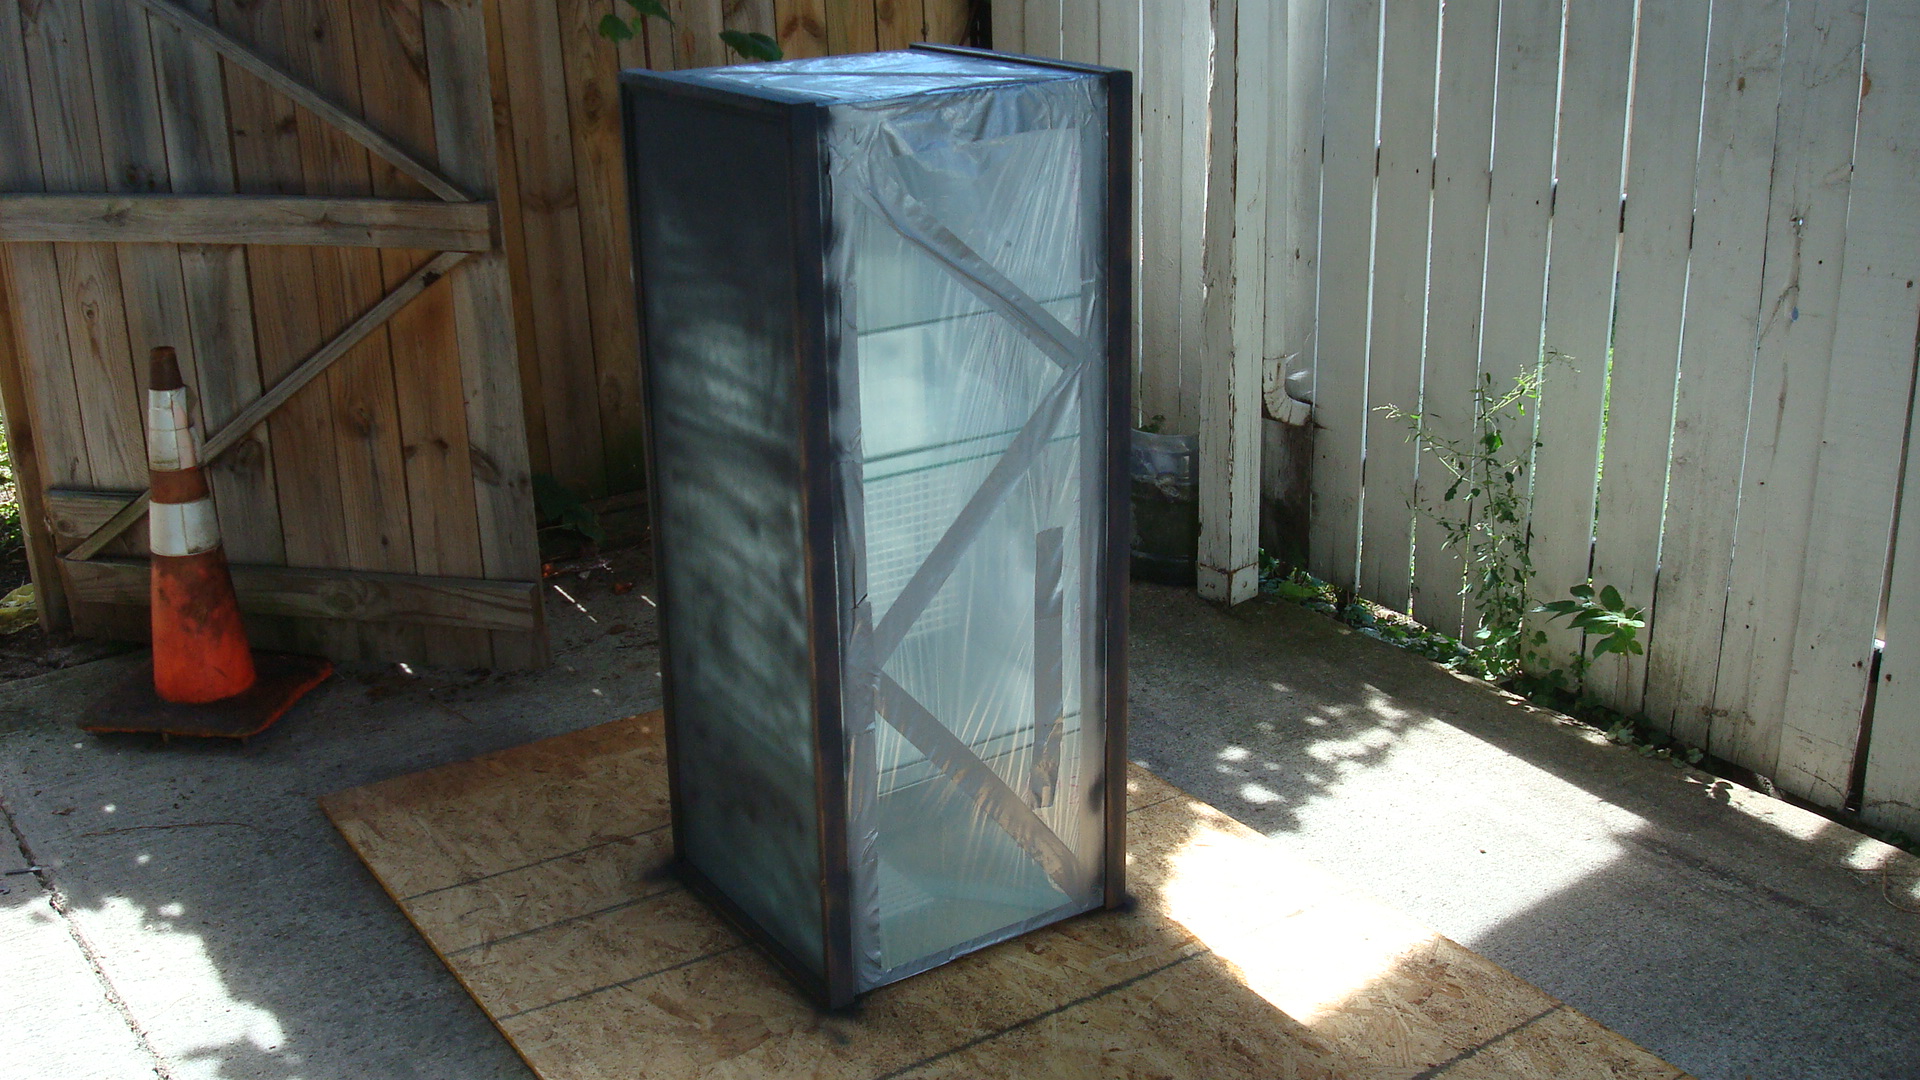
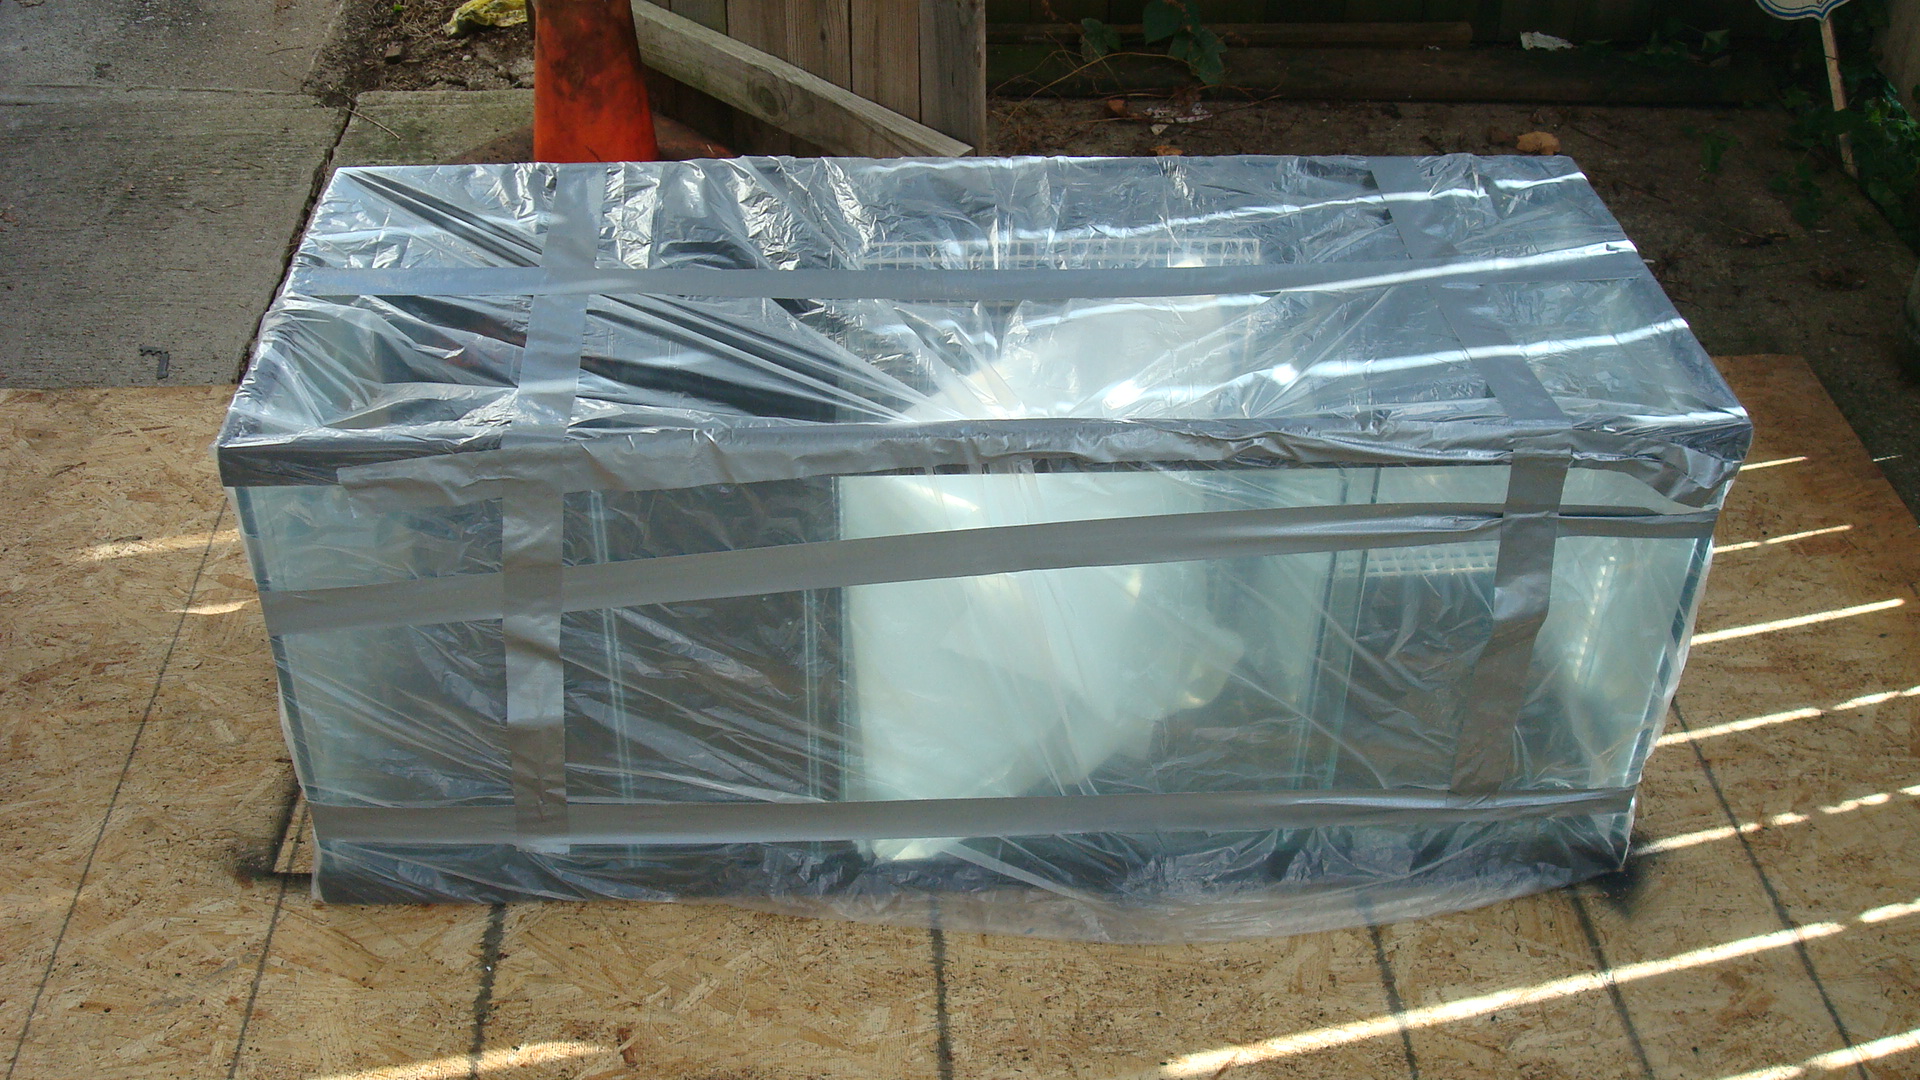
The Tank came with a wood trim, but the whole setup this is going on is black. For a sump like this it would be a waste not to make it match!!! With some tape, plastic, and a can of spray paint you can make a blah glass box look like quite an expensive unit! The trim and back side of the tank will be jet black. The Skimmer operates in 7 inches of water. I glued egg crate to the sides of the equipment section and a shelf rests on those. The stand is very tall so this will not be an issue by any means. Most of the time the skimmer is restricted to the bottom of the sump which reduces tank volume in shallower sumps. The refugium/growout chamber has a wall of egg crate to block the chaeto from the frag zone which will have a 12 inch tall frag rack that will be lit by a Reef Breeder Par38. The frags will be in 2 inches of water. The light will be pretty much at the top of the stand, so the whole area will be lit up nicely!
The ATO is JBJ and has Float switches for both the reservoir and the return section. There won’t ever be a dry reef with this sump. The return pump on the existing sump is submersible and has flow diverted back through the sump due to its high gph. This is going to be implemented into the growout chamber to eliminate the need for powerheads and creating a safer environment for animals that may be present. The bubble trap before the return has an egg crate snail guard…to block snails and even fish if needed. The frag rack will be able to hold 168 plugs in this tiny area. The whole point of this spot is to grow as many frags as possible as fast as possible.
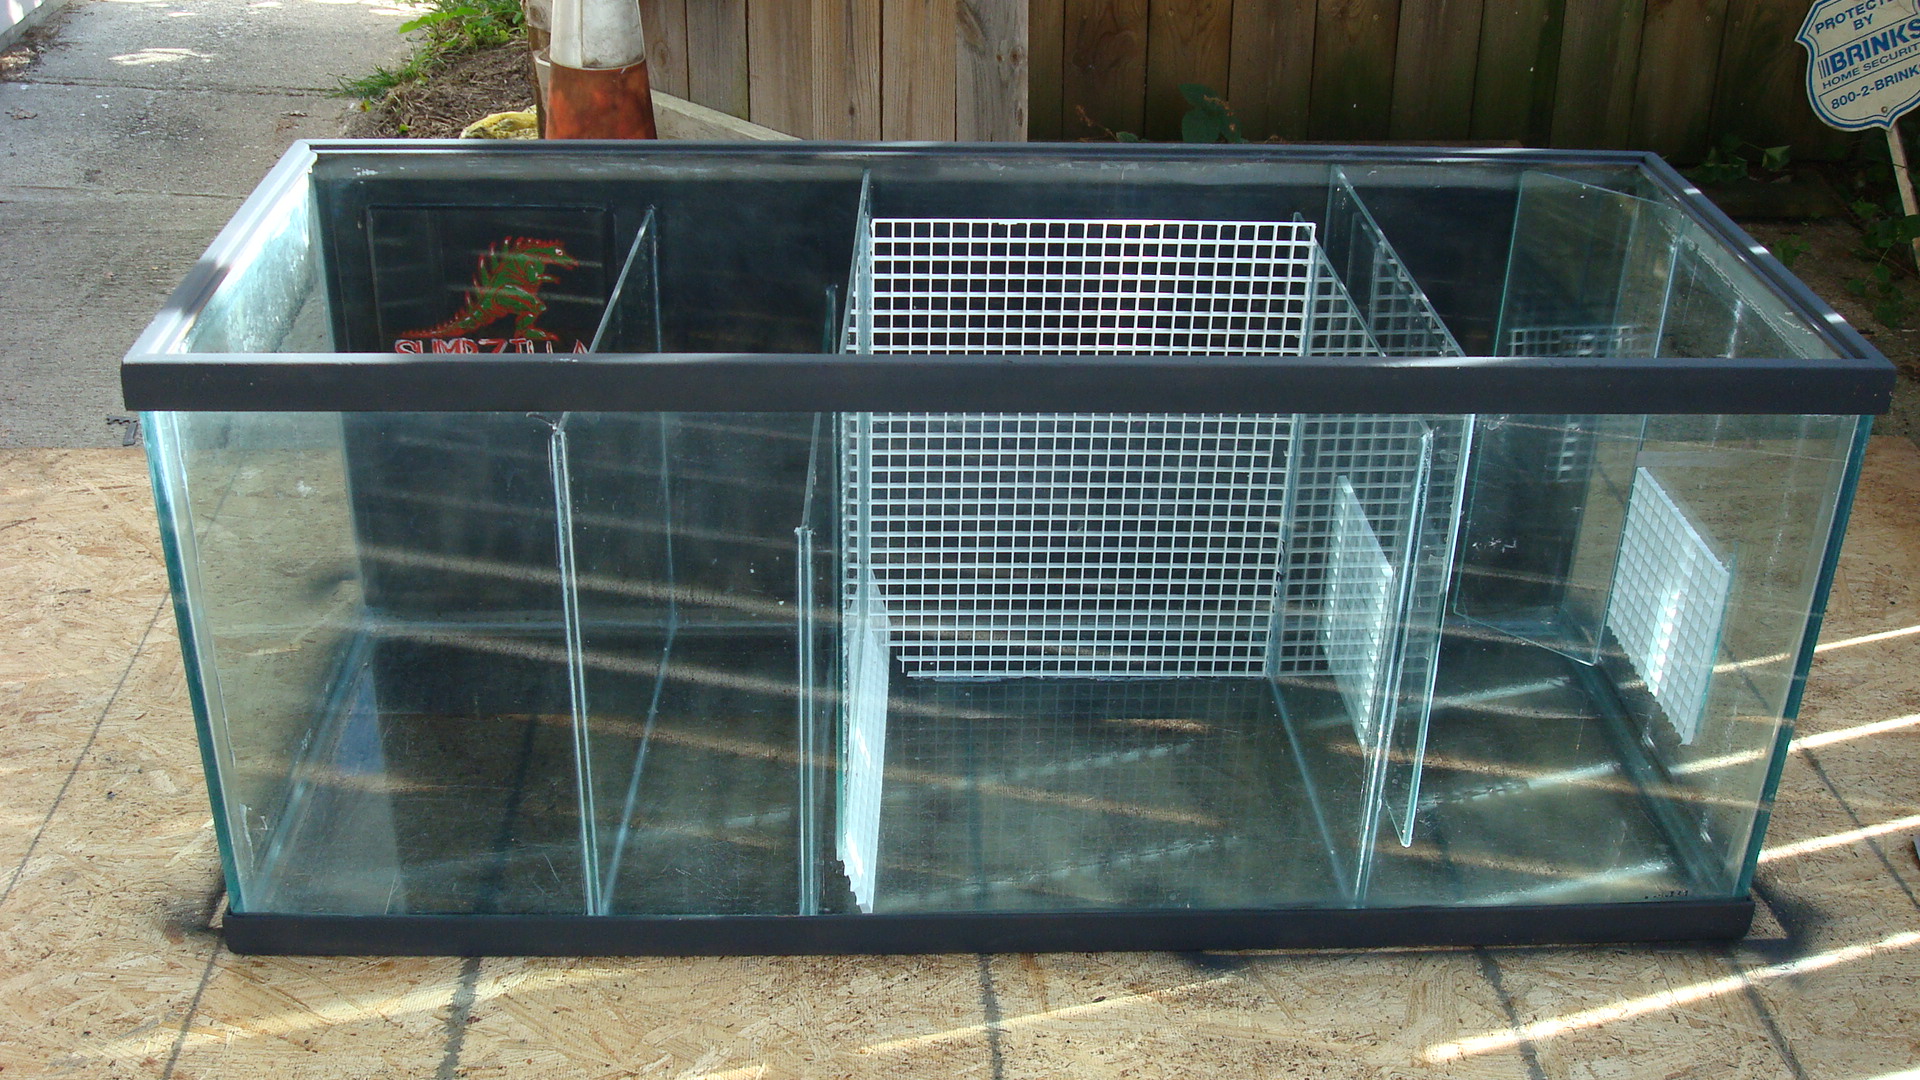
This, and any sump, is a very easy way to increase your tanks efficiency and volume. If you have a small stand you will need to get creative. If you have a huge stand with tiny doors you may even have to make multiple boxes plumbed together with bulkheads, though more difficult and risky. The material list is not set in stone and neither are the methods. Use what is affordable and available. Acrylic can be used rather than glass. You can place the baffles where you need them for your own needs. The size of the sump should be as large as possible with reasonable access. Other than that there is not much to it! Start a thread and show off your sump build in the (DIY FORUM LINK) and stay tuned for Part 2 where I show you how I install this into the system it was designed for!
For all the latest post and topics from reefers all over the world click here!
Comments are closed.
